 FlikaMove
Bouncing ball animation: timing, spacing, and squash
A bounce looks lively when the ball lingers near the top, falls quickly, and springs off the floor. This FlikaMove exercise shows where to put each drawing, how to squash the landing, and what to change when the movement feels stiff.
You’ll make: a 12-frame, one-second bounce. Start with a plain ball. Add a face only after the movement feels right.
1. Start with the important drawings
These are the key poses: the drawings that explain the action. The ball is round near the top, tall just before landing, and wide when it touches the floor. The drawings between these poses carry it from one position to the next.
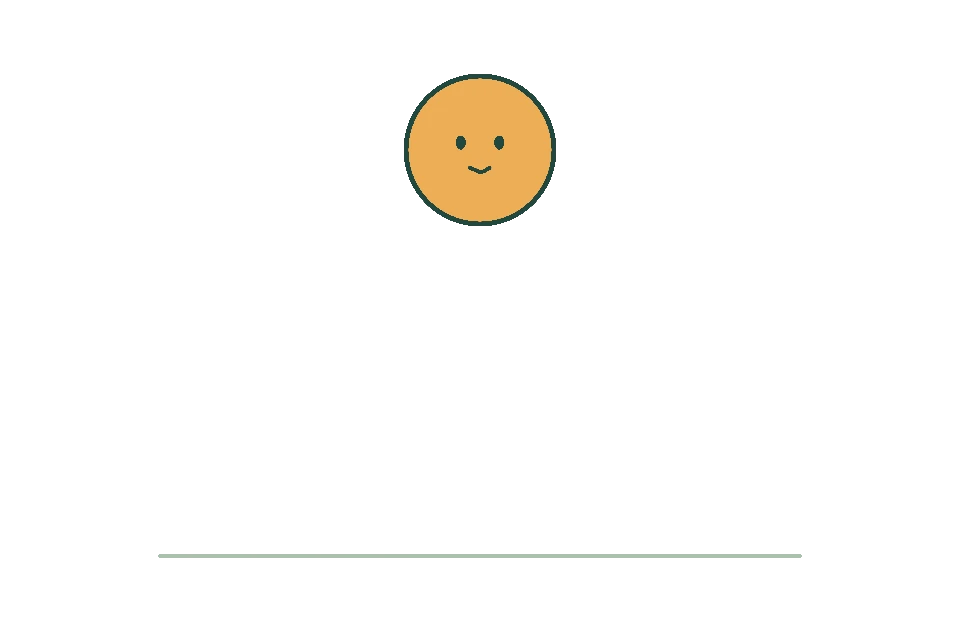
1 · At the top
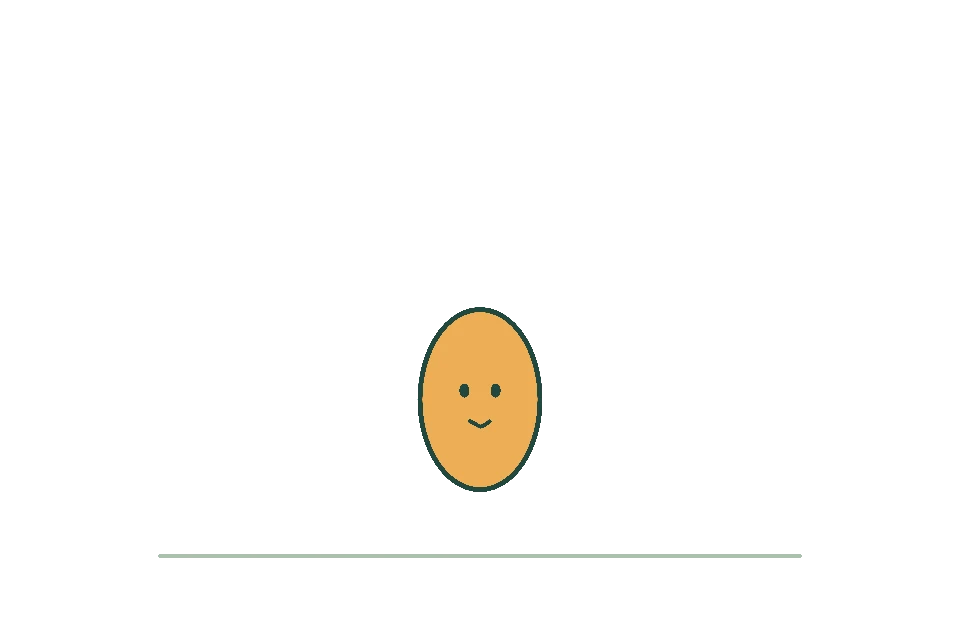
6 · Falling fast
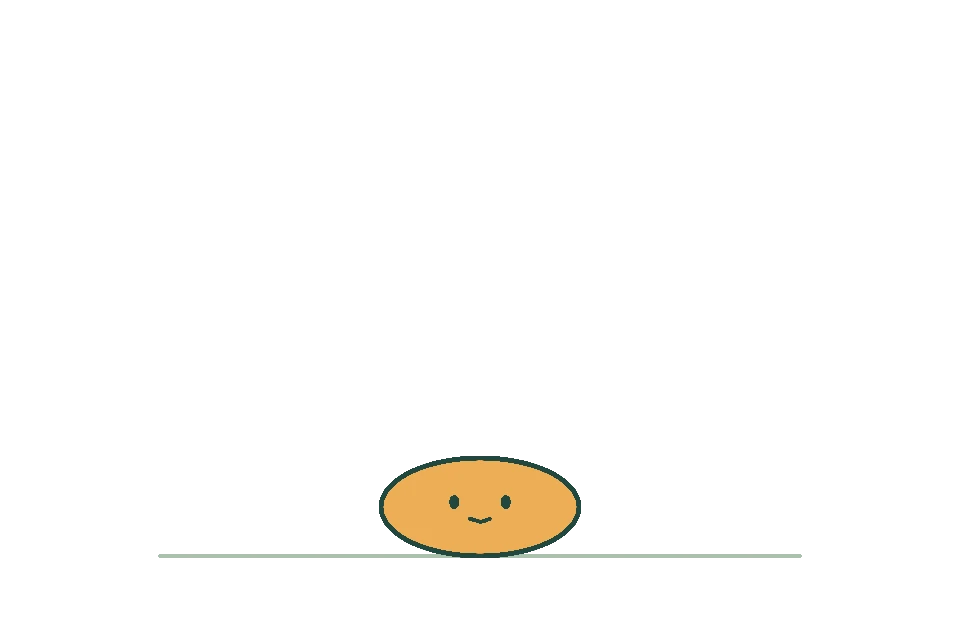
7 · Touching the floor
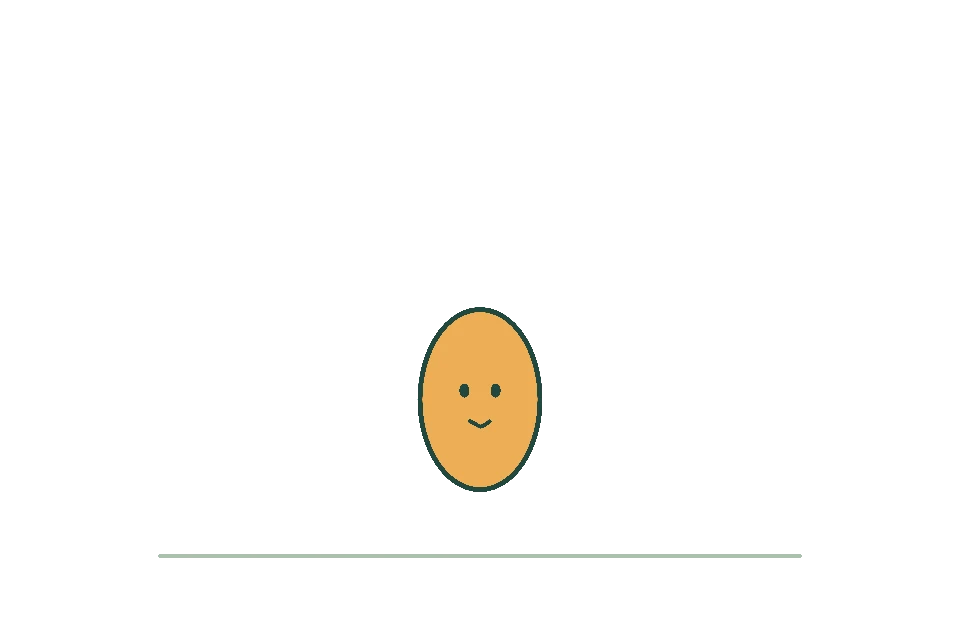
8 · Pushing back up
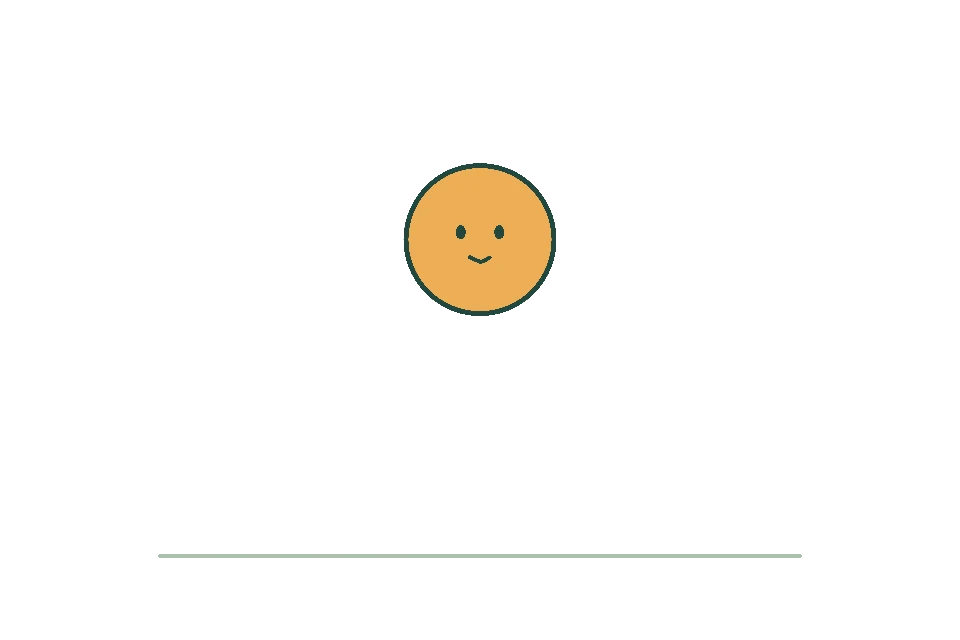
10 · Slowing down
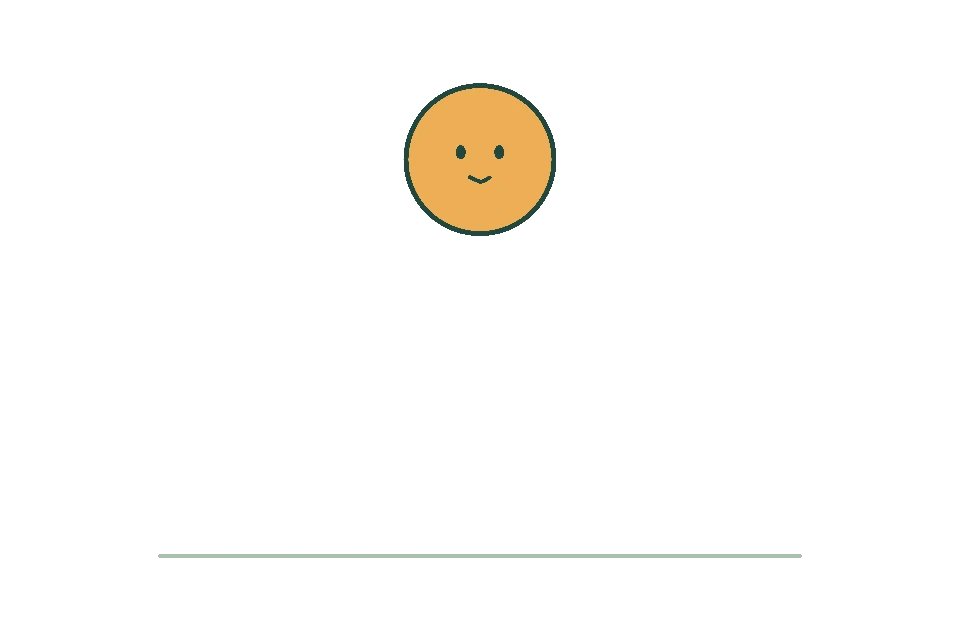
12 · Almost at the top
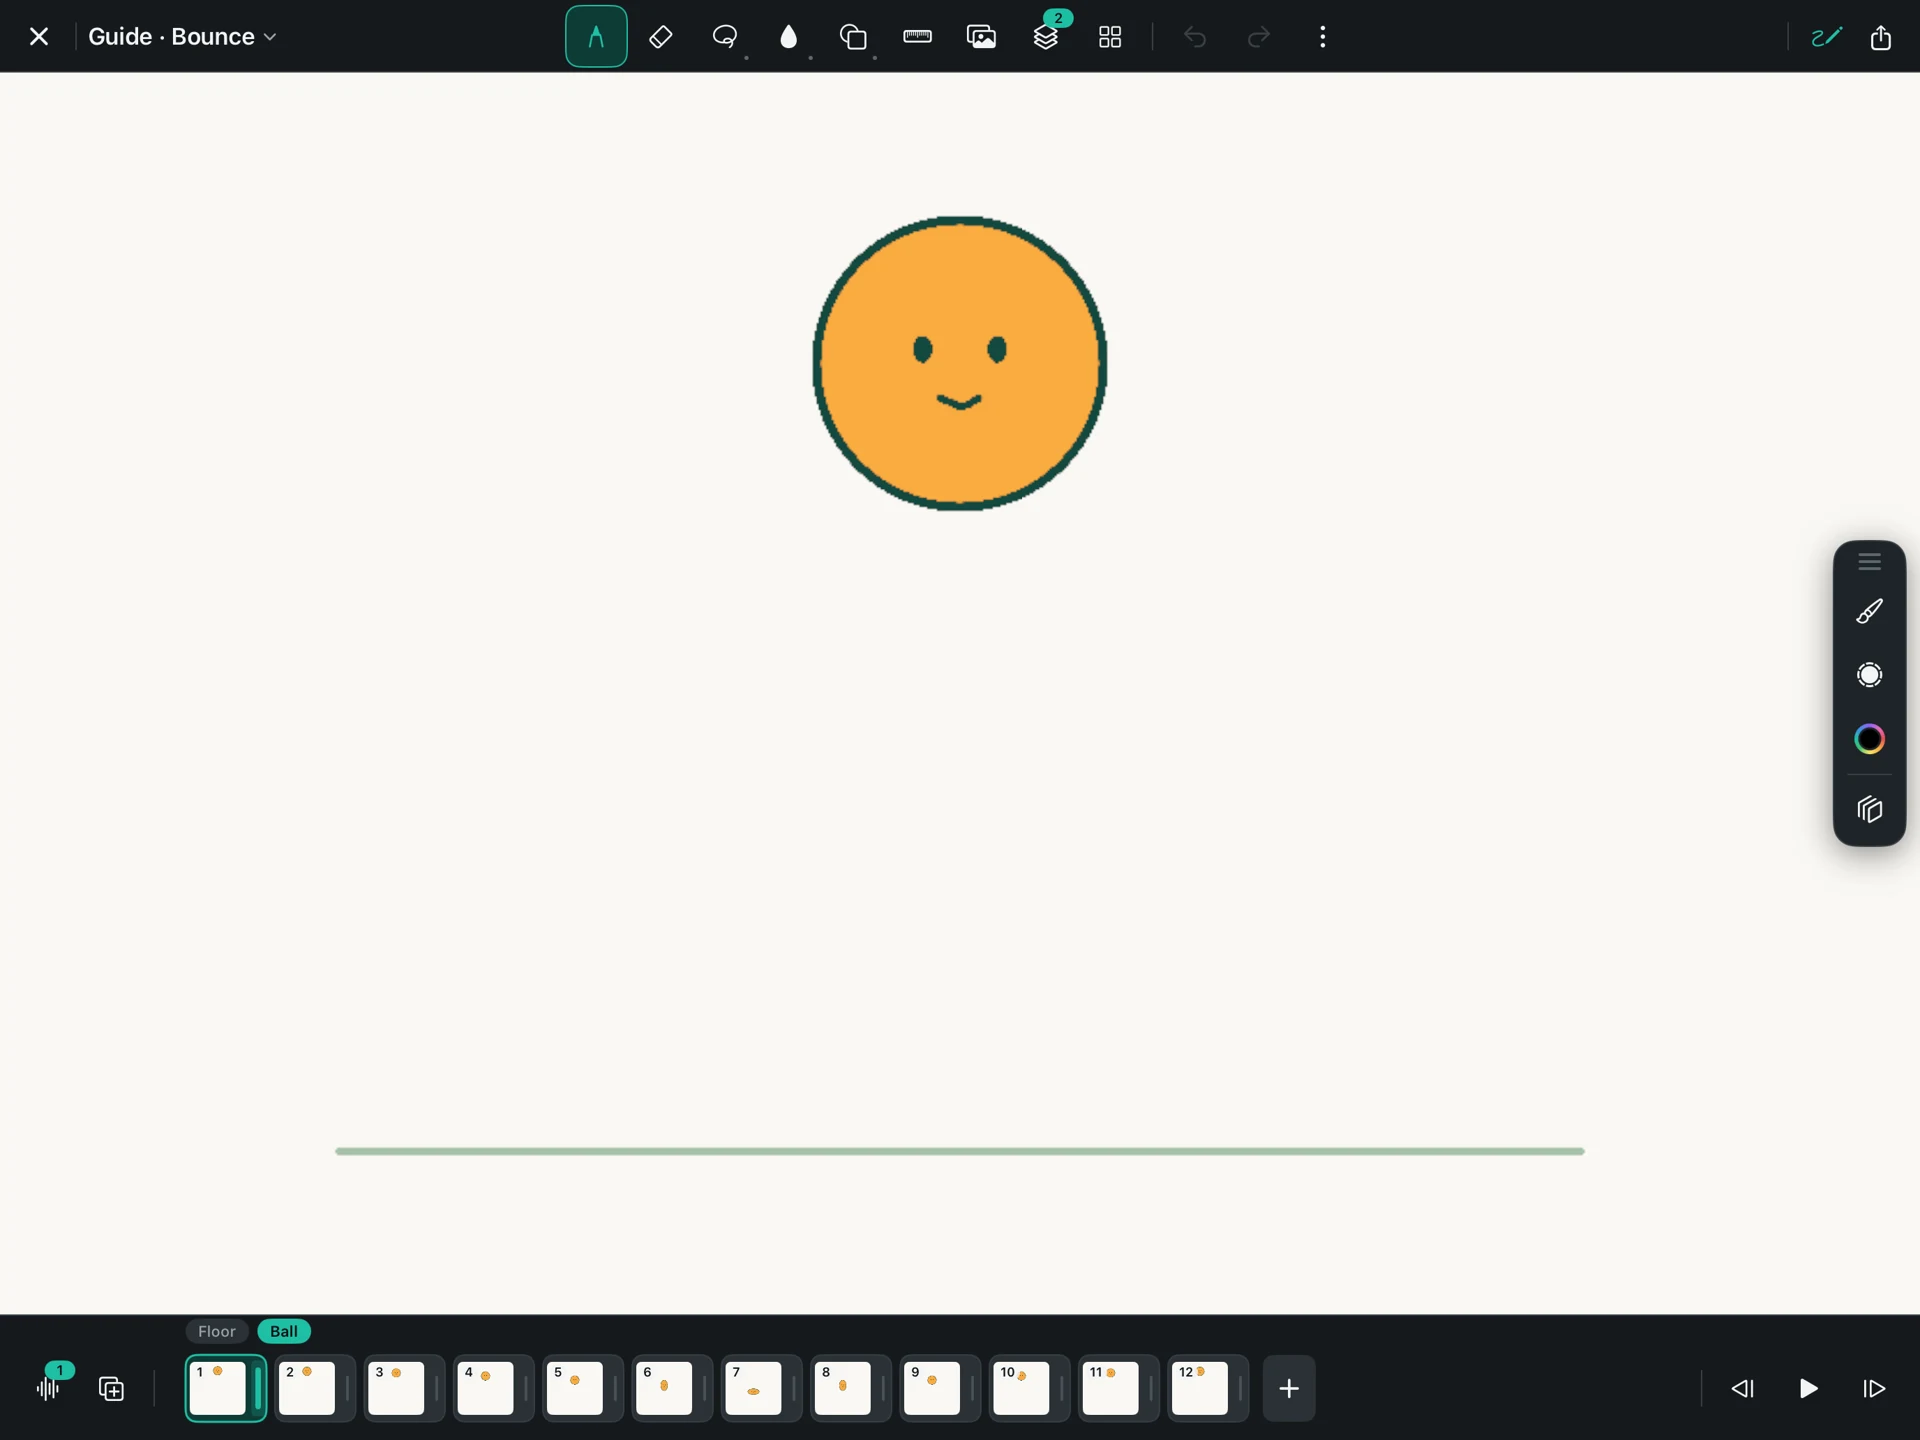
Make a 960 × 640 project at 12 fps if you want to follow our example exactly. Draw a floor line on its own layer and hold it for the full 12 frames. Put the ball on a separate layer so the floor never moves.
2. Draw the top and the landing
Draw a round ball with plenty of space below it. This is drawing 1. The ball needs room to fall, so leave more space underneath than above.
For drawing 7, place the ball on the floor. Make it a little wider and shorter, as though it has compressed on impact. Keep its bottom touching the line. Do not push its center down so far that it sinks through the floor.
3. Fill in the fall
The gaps between drawings control how fast the ball seems to move. Small gaps look slow; big gaps look fast. Put drawings 2 and 3 close to the top, then increase the gap as the ball falls.
| Drawing | Where to put it | Shape |
|---|---|---|
| 1 | Highest point | Round |
| 2 and 12 | Just below the top | Round |
| 3 and 11 | A little farther down | Round |
| 4 and 10 | About a quarter of the way down | Round |
| 5 and 9 | About halfway down | Round |
| 6 and 8 | Near the floor | Taller and narrower |
| 7 | Bottom touching the floor | Shorter and wider |
This is a playful starting pattern. You can change it later to make the ball feel heavier or softer. Keep each drawing on screen for one frame while you learn the spacing.
4. Use the faint drawings to check the gaps
Tap Onion Skin. The previous and next drawings appear faintly around the current ball. Those extra outlines are guides; they are not extra balls in the finished movie.
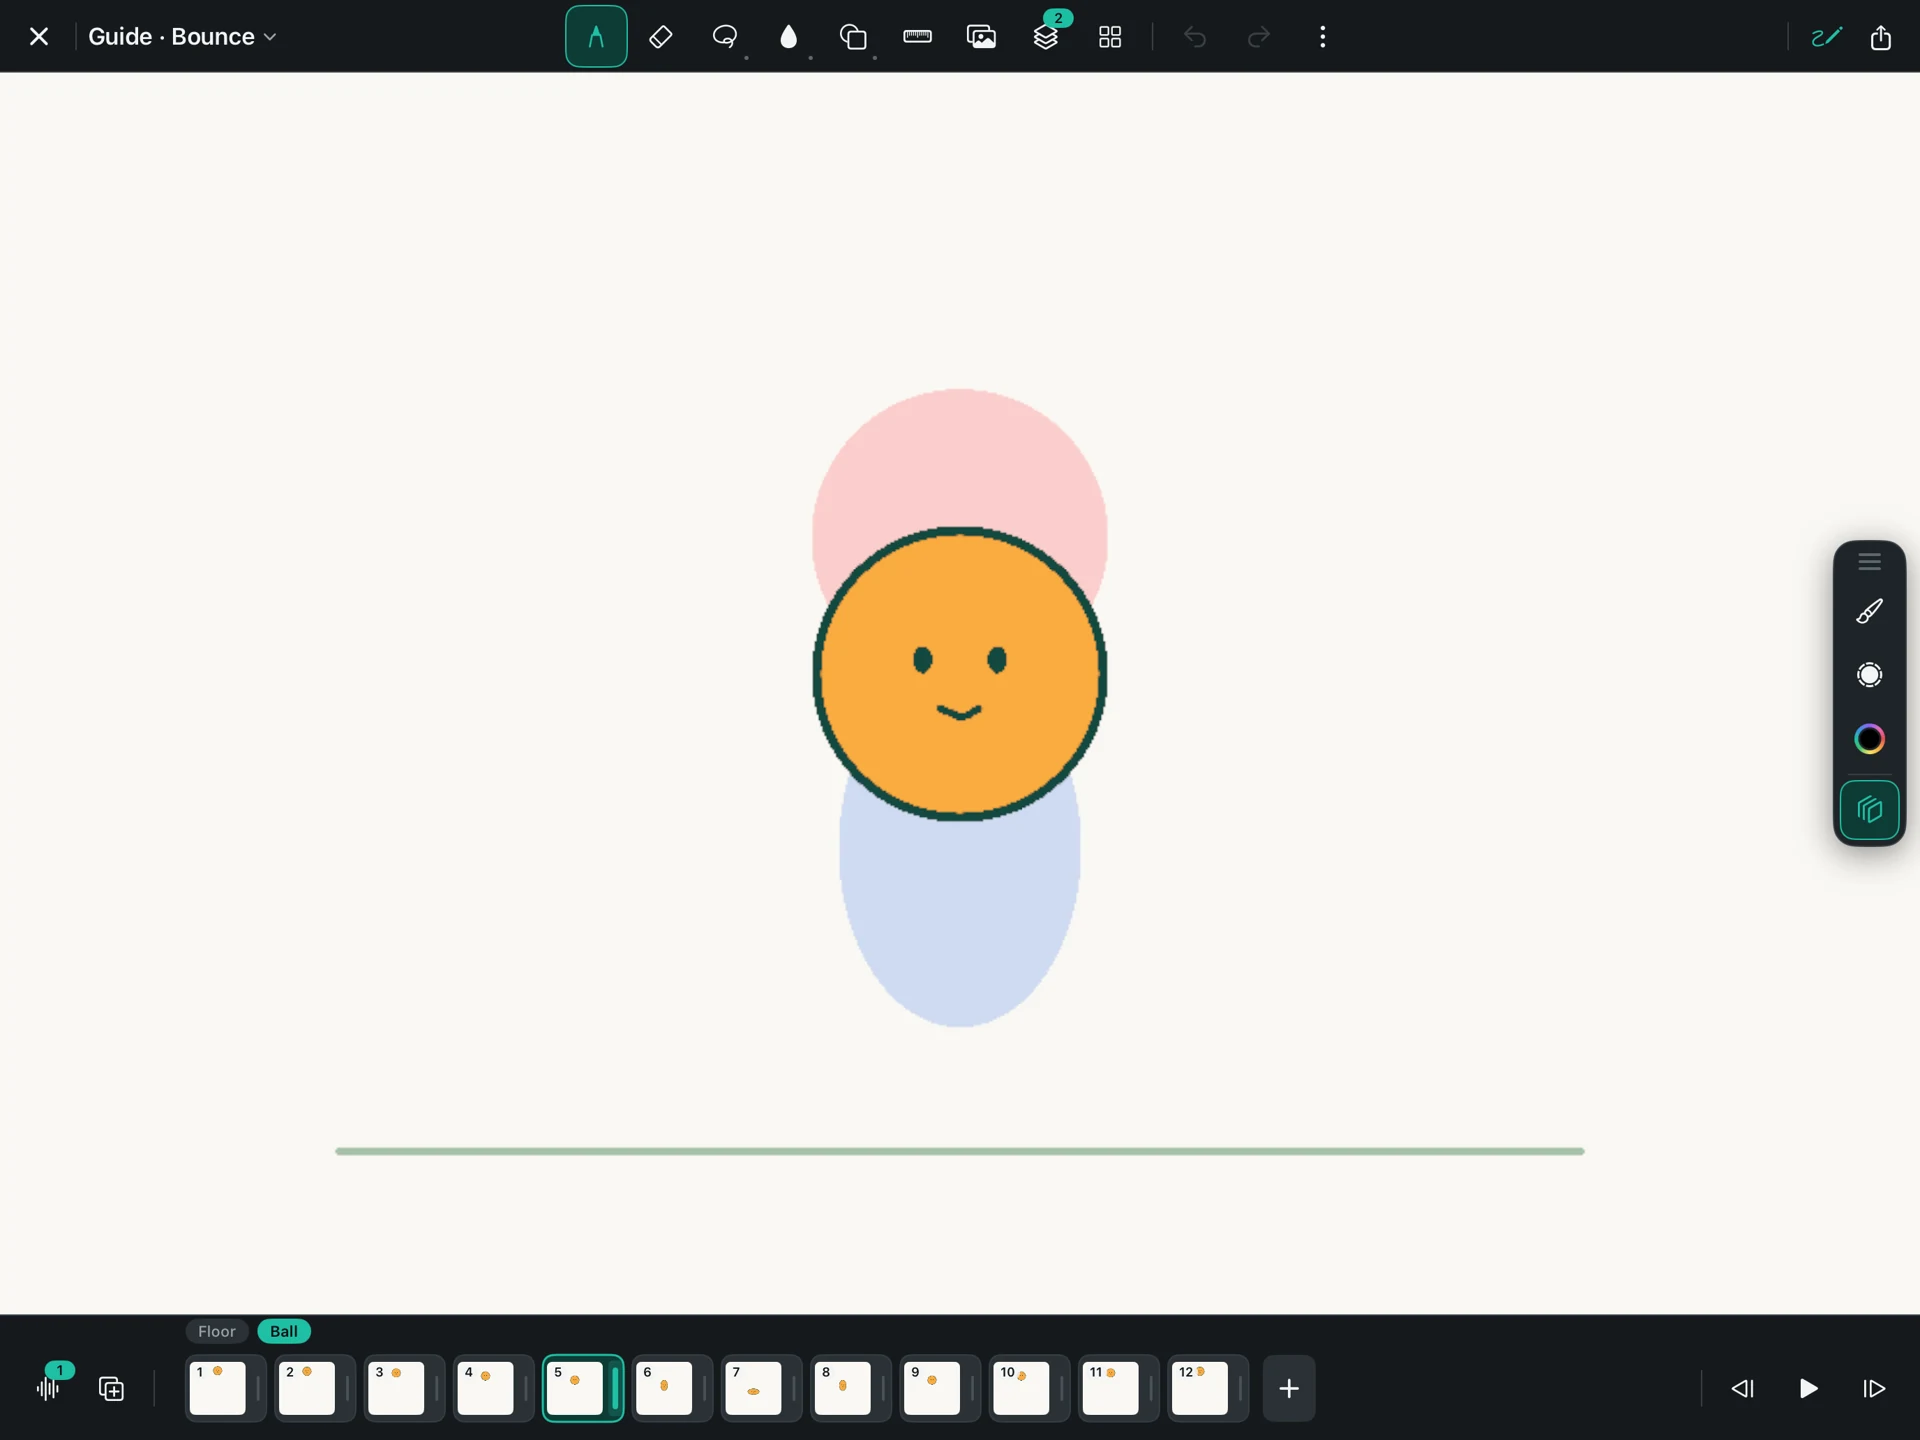
If every gap is equal, the ball will move at one steady speed. Move the early drawings closer together and the later ones farther apart. Preview again before adding more drawings.
5. Draw the rise and close the loop
Use the matching positions in the table for drawings 8–12. The ball leaves the floor quickly and slows as it approaches the top. Drawing 12 sits just below drawing 1.
Do not add a second copy of drawing 1 at the end. The player already returns to the first drawing when the loop repeats. An extra copy can create an unwanted pause.
6. Watch the landing, then the whole bounce
Tap Play and watch the floor. The ball should touch it once per bounce. If it looks stuck, check the landing hold. If it seems to grow, reduce the width when you increase the height, and reduce the height when you increase the width.
Now watch the top. If the ball suddenly reverses direction, bring the drawings around the peak closer together. Keep the faster movement near the floor.
Download the bounce practice project. In Files, unzip it and copy the complete .flikamove project into On My iPad → FlikaMove → Animations. Reopen FlikaMove and select the project from your library. Keep the downloaded copy as a backup.
7. Add a little personality
Add eyes and a small smile after the body works. Move the face with the ball, including its stretch and squash. Try closing the eyes on contact, then opening them as the ball rises.
For a soft landing sound, use the audio guide. Place the sound on drawing 7, where the ball actually touches the floor.