 FlikaMove
Character rigging: pose a drawing
Rigging lets you bend a drawing at points you choose. For an arm, those points can be the shoulder, elbow, and wrist. Start with one arm so you can understand how the drawing bends before trying a whole character.
1. Plan a small wave
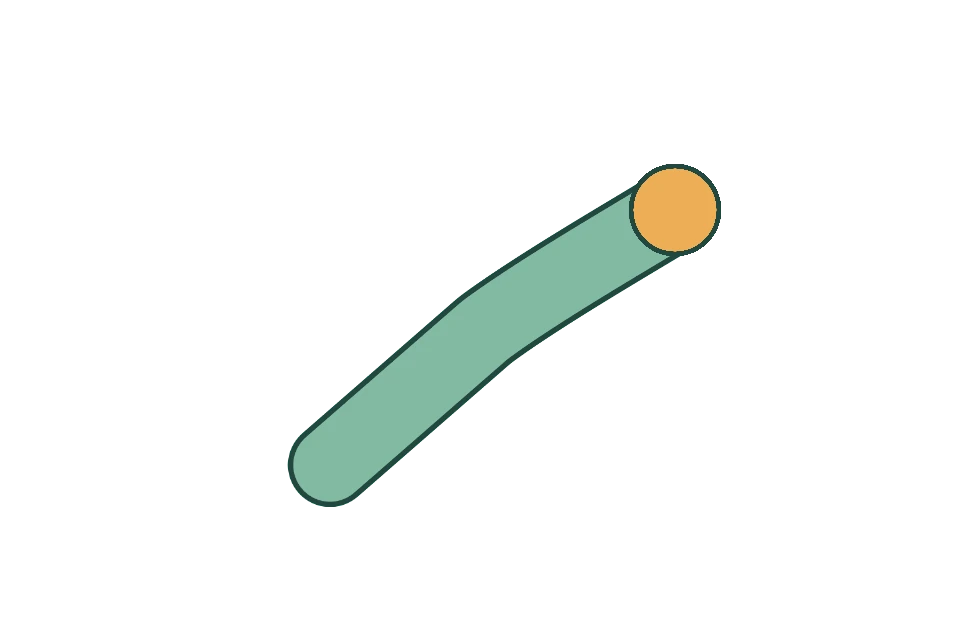
Arm leaning right
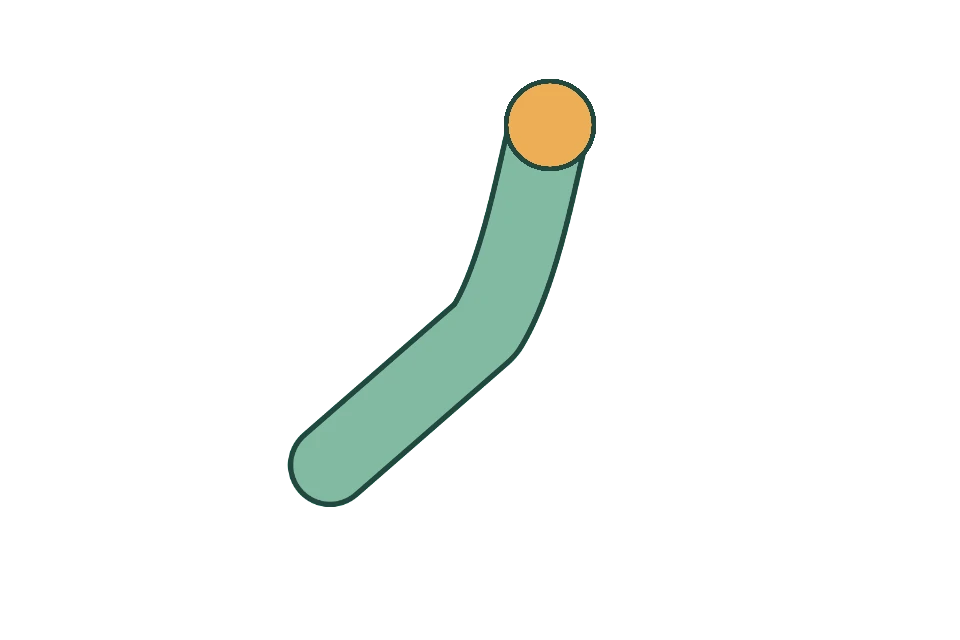
Hand above the elbow
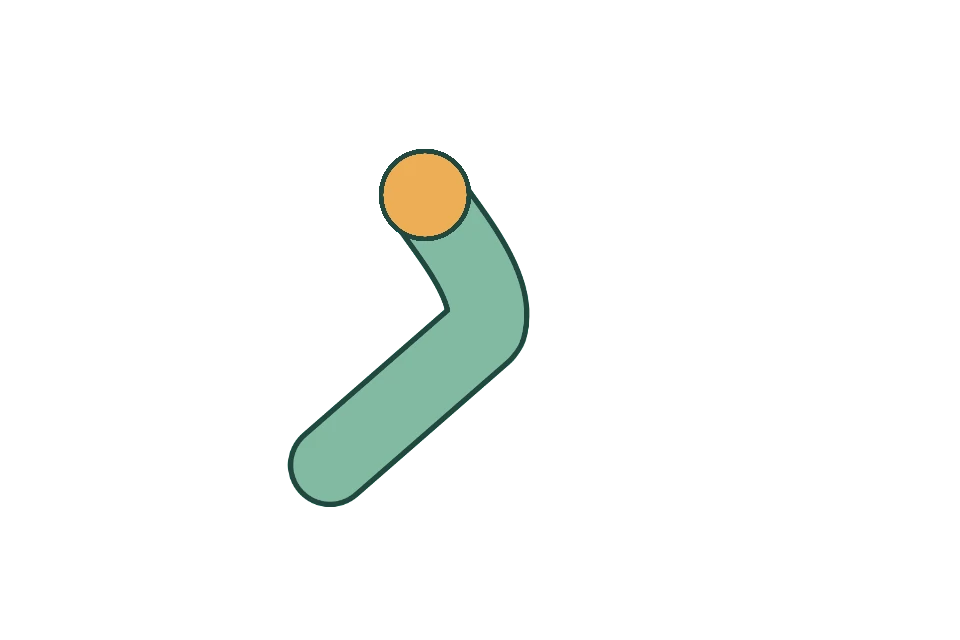
Arm leaning left
Keep the shoulder in one place and move the hand across a short arc. A small wave is easier to control than a huge swing. You can exaggerate it after the basic bend works.
Our practice drawing uses a simple sleeve and a round hand. There are no separate fingers to fold over each other. That leaves you free to focus on the elbow.
2. Prepare a drawing that can bend
Draw the arm away from the body, with a clear elbow and wrist. Leave enough width at the elbow that it will not become a thin pinch when bent.
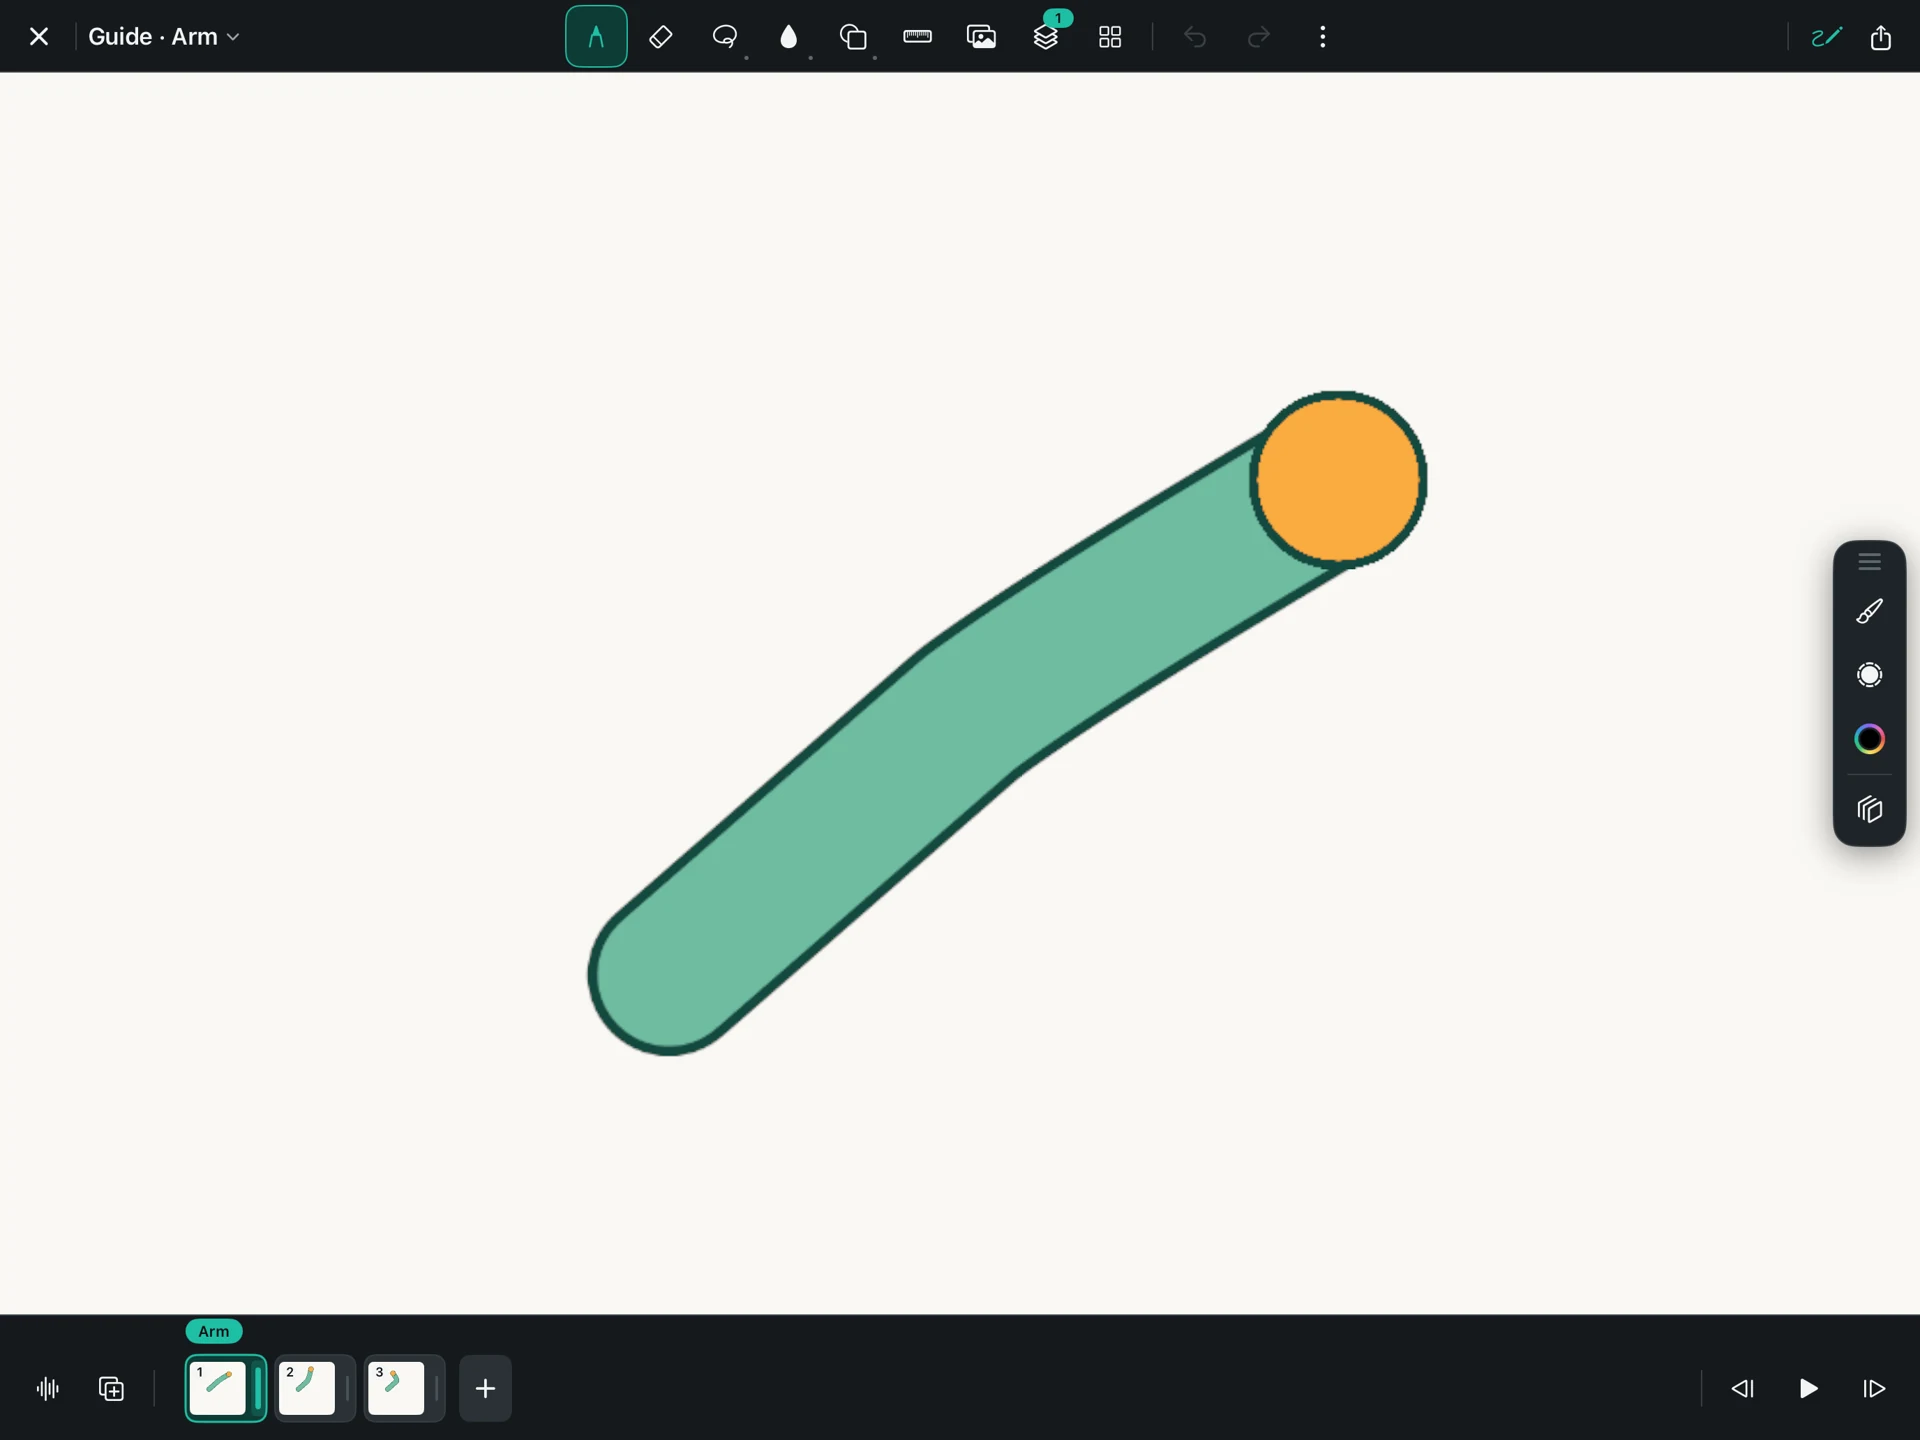
Choose Select, select the arm, and choose Rig from the controls for the selected drawing. Select the artwork you want to move, with as little empty space as practical.
3. Put the joints where the arm should bend
In Edit Joints, move the existing pivot—the small plus marker—to the shoulder. Tap it to select it, then tap at the elbow and near the wrist. The connecting lines tell FlikaMove how those points belong together.
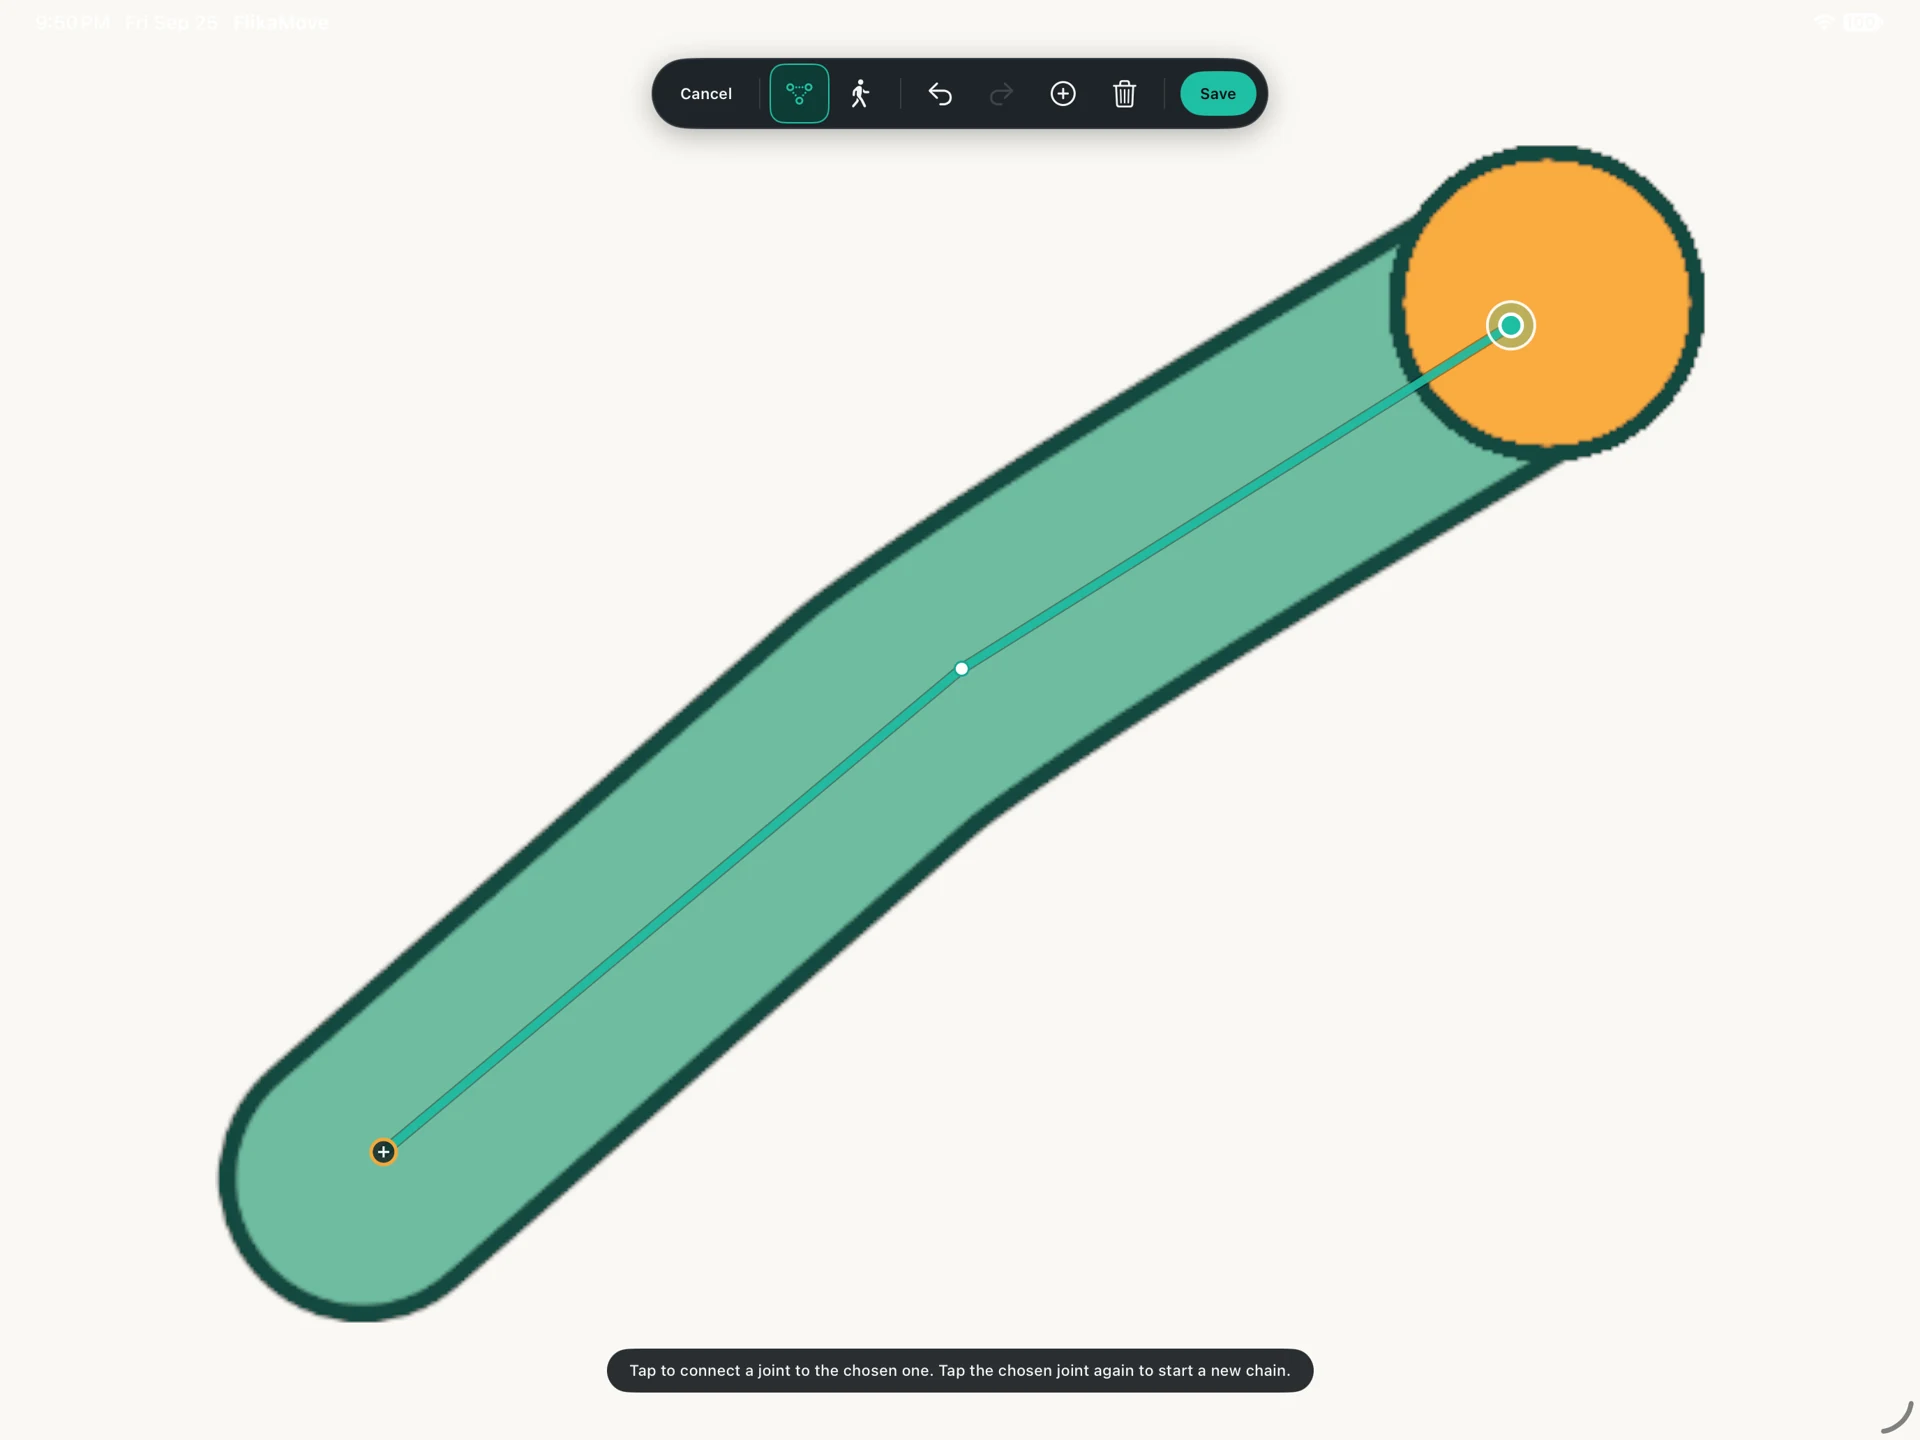
Three joints are enough for this first exercise. Adding extra points everywhere can make the result more confusing. Start with the places that really need to bend.
If you place a joint badly, correct it in Edit Joints. Use Undo Rig or Delete Joint when needed. New Chain starts a separate chain for another part of a drawing.
4. Try the bend before saving
Tap Try Pose and drag the wrist a short distance. Watch the sleeve around the elbow. The goal is a readable bend, without a sharp pinch or a hand that looks detached.
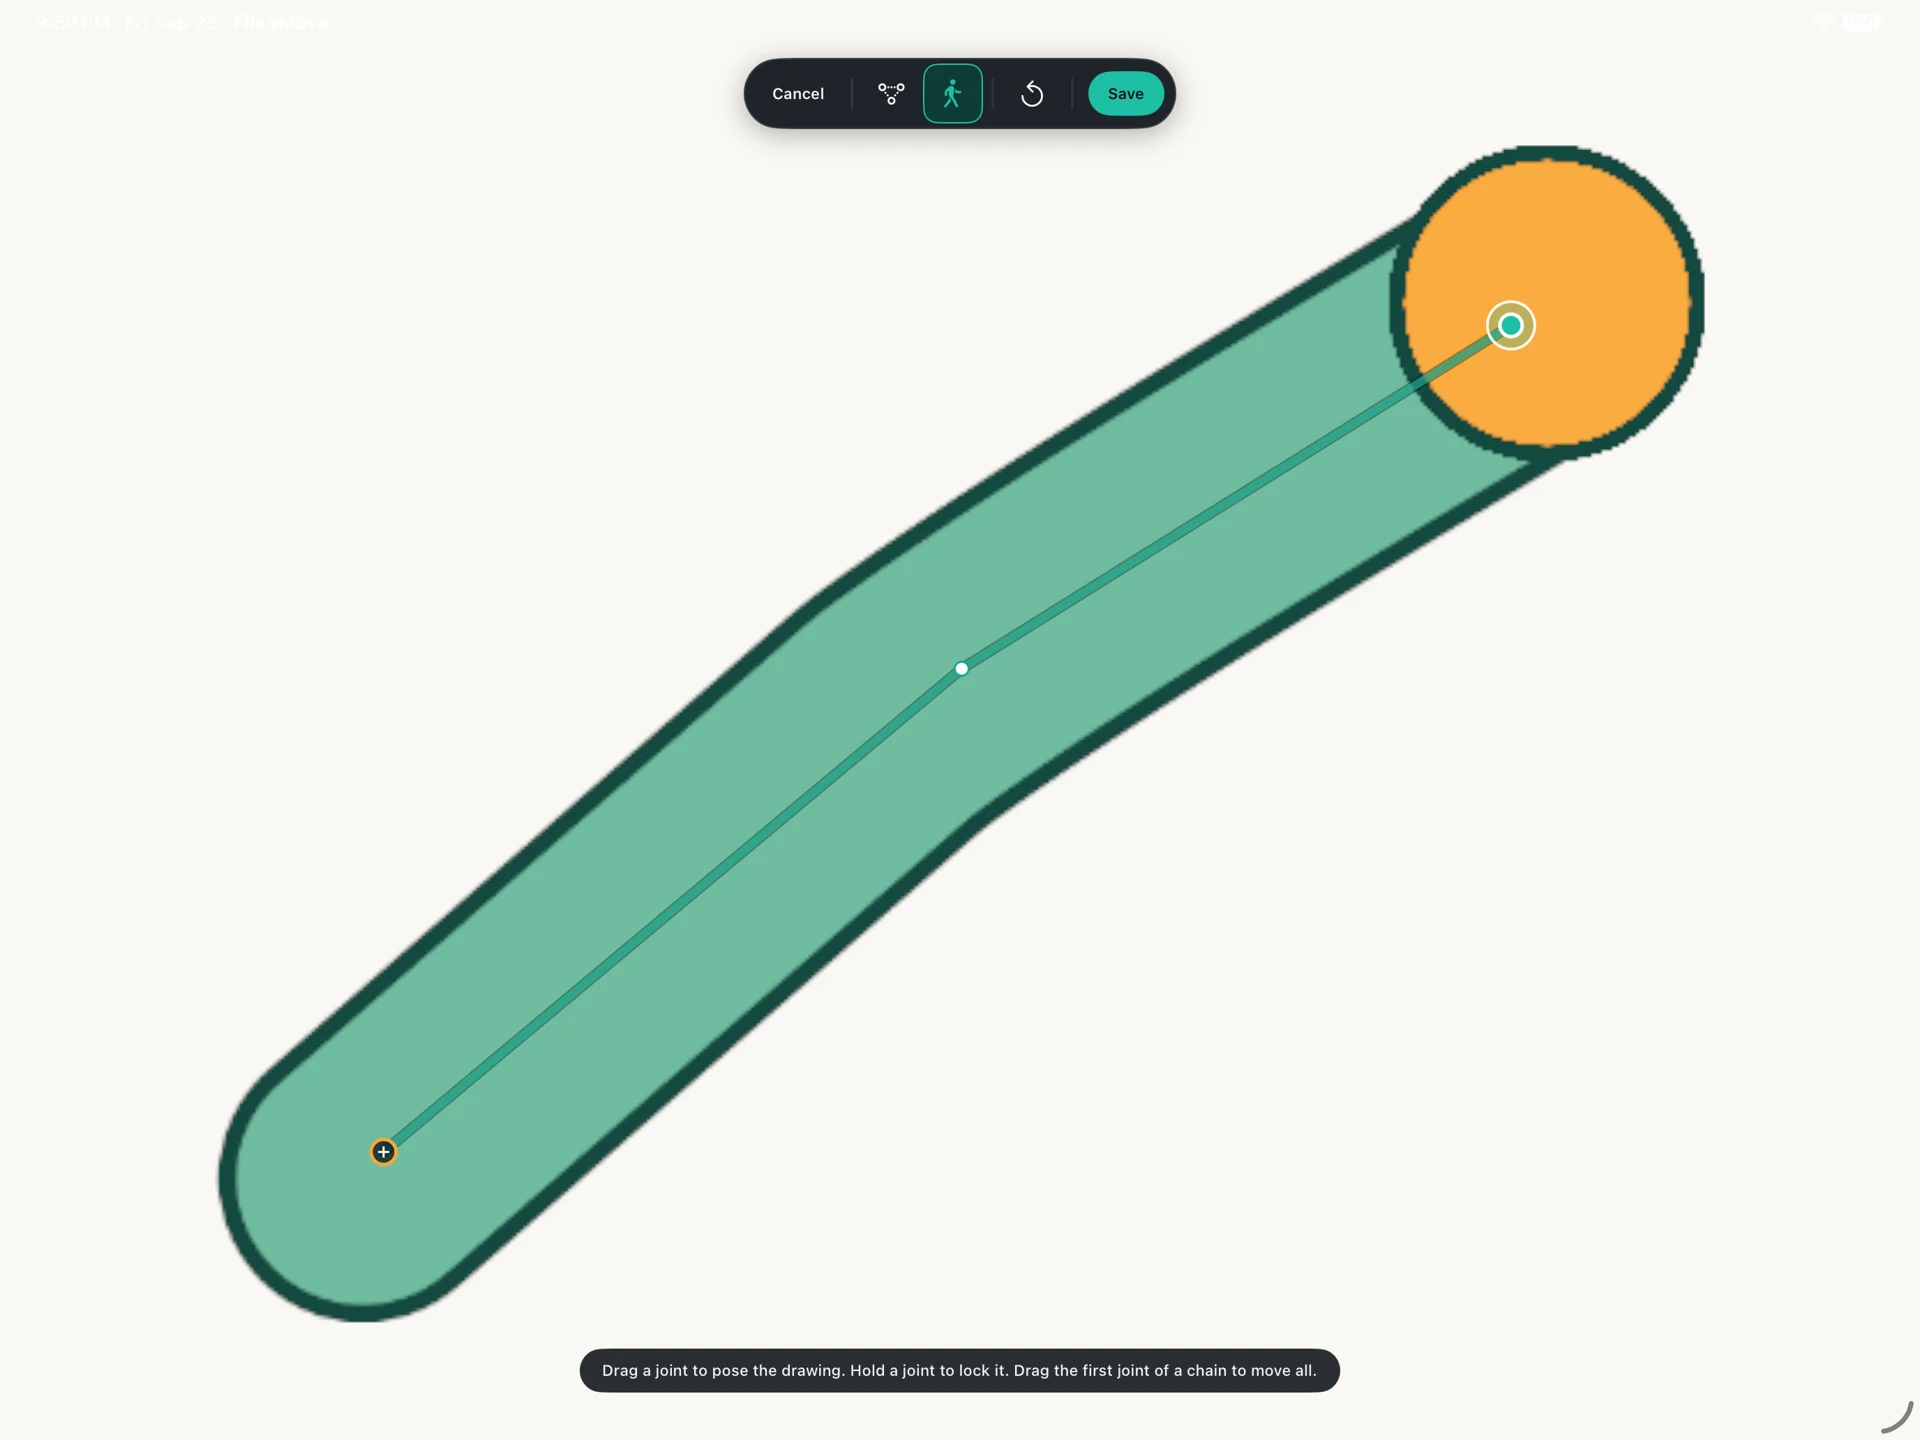
Hold a joint to lock it. For a wave, keeping the shoulder steady helps the arm feel attached to a body. Dragging the first joint of a chain moves the whole chain, so use the wrist when you want the hand to move around the shoulder.
Use Reset Pose to return to the starting shape. If the elbow keeps collapsing, return to Edit Joints and check the joint positions. You may also need a thicker, simpler arm drawing.
5. Save the reusable drawing
Tap Save to keep the rig as a Smart Symbol. Think of a Smart Symbol as a drawing you can reuse and pose. Use the same symbol for the different poses of the wave.
Make a starting pose on an earlier frame and a different pose on a later frame. Keep the shoulder in the same position and change the hand position. Start with a short movement between neighboring poses.
6. Add the movement between poses
When there is a compatible earlier pose of the same Smart Symbol, FlikaMove offers Tween. It creates intermediate poses between the earlier and later positions.
Check the generated movement frame by frame and at normal speed. A computer-created middle pose can still need adjustment, especially when an arm crosses the body or a hand changes direction.
A rig bends the artwork it has. It does not draw hidden parts of a sleeve or decide which fingers should appear in front. Keep this first wave in a clear side-to-side motion with no overlaps.
7. Make the wave feel friendly
Let the hand slow down near each side of the wave and move more quickly through the middle. Keep the shoulder quiet. If the whole arm shakes, check the shoulder position across the poses.
Add a blink or a smile change as separate drawings after the arm works. That combines a reusable arm with the freedom of drawing expressions frame by frame.
Download the arm practice project. In Files, unzip it and copy the complete .flikamove project into On My iPad → FlikaMove → Animations. Reopen FlikaMove and select the project from your library. Keep the downloaded copy as a backup.
The download contains the three drawn reference poses. Use the first pose to practice creating your own rig.